
Crystal Bracelet Guides
How to Make a Crystal Bracelet at Home: A Beginner Guide

Quick answer: To make a crystal bracelet, choose beads that fit your style, measure your wrist, string the beads on elastic cord, tie a secure knot, and test the fit. Beginners usually get the cleanest result with 6 mm or 8 mm gemstone beads and a simple stretch design.
Making a crystal bracelet is a calm, hands-on project. You do not need a full jewelry bench or advanced tools. A few good materials and a clear plan will take you from loose gemstone beads to a bracelet you will want to wear.
This guide shows you how to make a crystal bracelet at home. It also helps you avoid the mistakes that make a bracelet feel too tight, too loose, or easy to break.
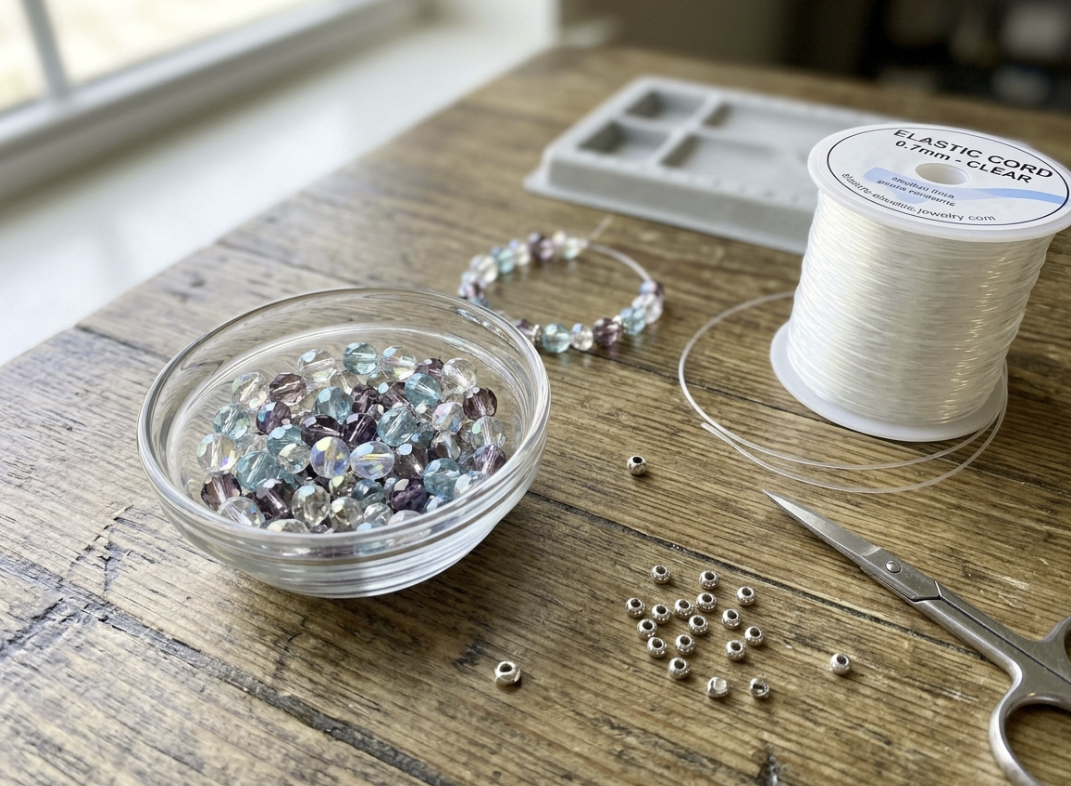
What You Need to Make a Crystal Bracelet
| Item | Why you need it | Beginner note |
|---|---|---|
| Natural gemstone beads | They create the main design | Start with 6 mm or 8 mm round beads |
| Stretch cord | It holds the bracelet together | Use cord that fits through each bead hole twice |
| Scissors | They cut the cord cleanly | Use sharp scissors |
| Bead tray or small towel | It stops beads from rolling away | A folded towel works well |
| Clear jewelry glue, optional | It adds support to the knot | Use a tiny amount only |
| Ruler or soft tape measure | It helps you plan the fit | Measure before you string |
You can buy these items one by one. A Create a Custom Crystal Bracelet gives you a faster starting point because it keeps the bead style and cord size in one place.
Choose Your Beads Before You Cut the Cord
Pick one main bead type first. Then add one accent color, spacer, or charm if you want more detail. A simple two-color design often looks more polished than a bracelet with too many different beads.
Round 8 mm beads create a classic bracelet. Six-millimeter beads look lighter and work well when you stack two or three bracelets. Larger 10 mm beads make a stronger statement but can feel heavy on a small wrist.
Use the bead size chart before you order materials. It will help you picture bead diameter and estimate how many beads you need.
Measure Your Wrist for a Comfortable Fit
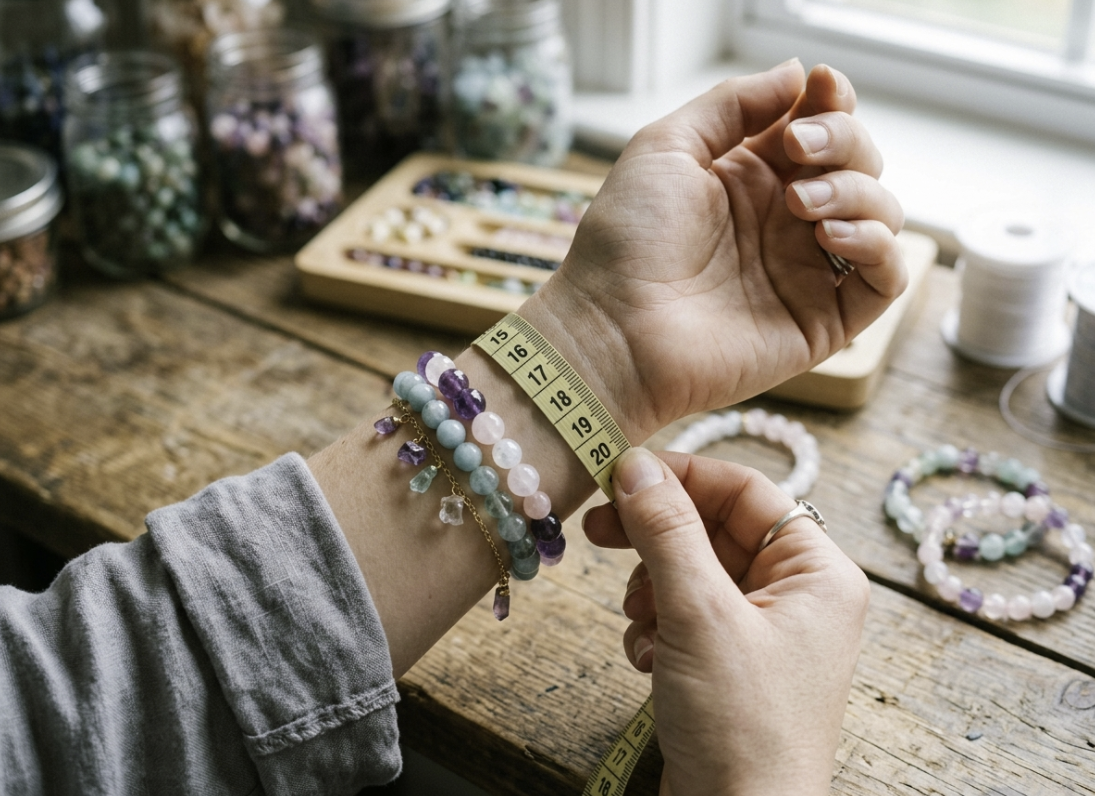
Wrap a soft tape measure around the part of your wrist where you wear bracelets. Do not pull it tight. Write down that number, then add extra room based on the fit you want.
| Fit | Add to your wrist measurement | Best for |
|---|---|---|
| Close fit | 0.25 in / 0.5 cm | Small beads and neat stacks |
| Standard fit | 0.5 in / 1.25 cm | Most stretch bracelets |
| Relaxed fit | 0.75 in / 2 cm | Larger beads or a loose look |
How to Make a Crystal Bracelet Step by Step
1. Plan the bead order
Place your beads on a tray or towel. Start from the center bead and build the same pattern on both sides. This simple trick makes the design look balanced without much effort.
If you use several colors, limit the pattern to two or three repeats. You can always make the next bracelet more detailed after you finish your first one.
2. Cut more cord than you think you need
Cut a piece of stretch cord about 10 to 12 inches longer than your planned bracelet length. The extra cord gives you room to hold the beads, tie the knot, and fix a small mistake.
Do not cut the cord close to the final size. Short cord is hard to tie and easy to drop.
3. Secure one end of the cord
Clip one end of the cord to a bead board or tape it to the table. You can also place a bead stopper on the end. This keeps the first beads from sliding off while you work.
4. String the beads in your planned order
Thread one bead at a time. Stop after every few beads and compare the pattern to your layout. If the cord twists, let it hang for a moment before you continue.
Keep the beads close together, but do not stretch the cord while you string. Stretched cord can leave gaps after the bracelet is finished.
5. Check the fit before you tie the knot
Bring both ends together and wrap the bracelet around your wrist. The beads should touch without digging into your skin. Remove or add a bead now, before you tie the knot.
6. Tie a secure knot
Use a surgeon’s knot or a double overhand knot. Pull both ends slowly and firmly. Check that the knot sits close to the beads, but do not pull so hard that the cord looks thin or stressed.
Add one tiny dot of clear jewelry glue if you use it. Let the glue dry fully before you trim the cord.
7. Hide the knot
Trim the cord ends close to the knot. Gently slide the knot into the hole of a larger bead if the hole allows it. If the knot will not fit, place it on the underside of the wrist where it will be less visible.
8. Test the bracelet
Stretch the bracelet gently a few times. Check the knot and make sure no bead has a sharp edge near the cord. Wear it for a few minutes before you give it away or add it to a stack.
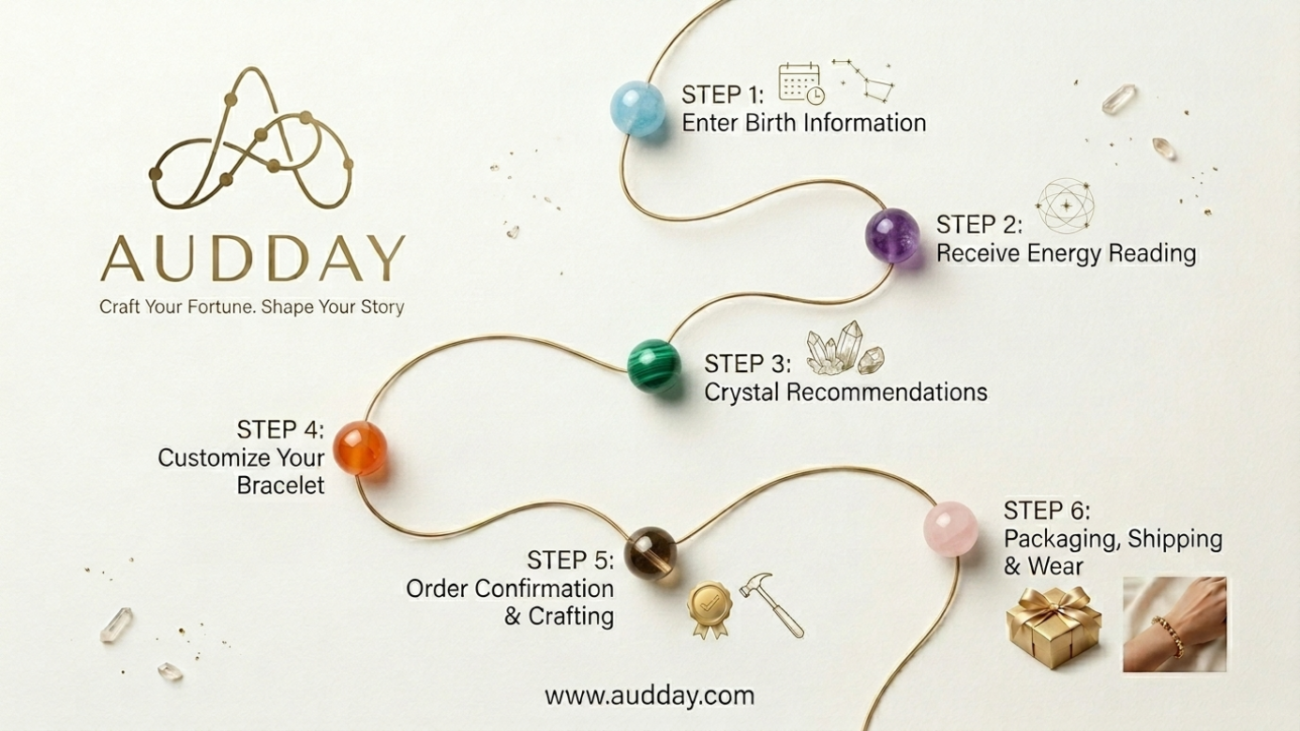
A simple workflow for making a crystal stretch bracelet.
A Simple Beginner Pattern to Try
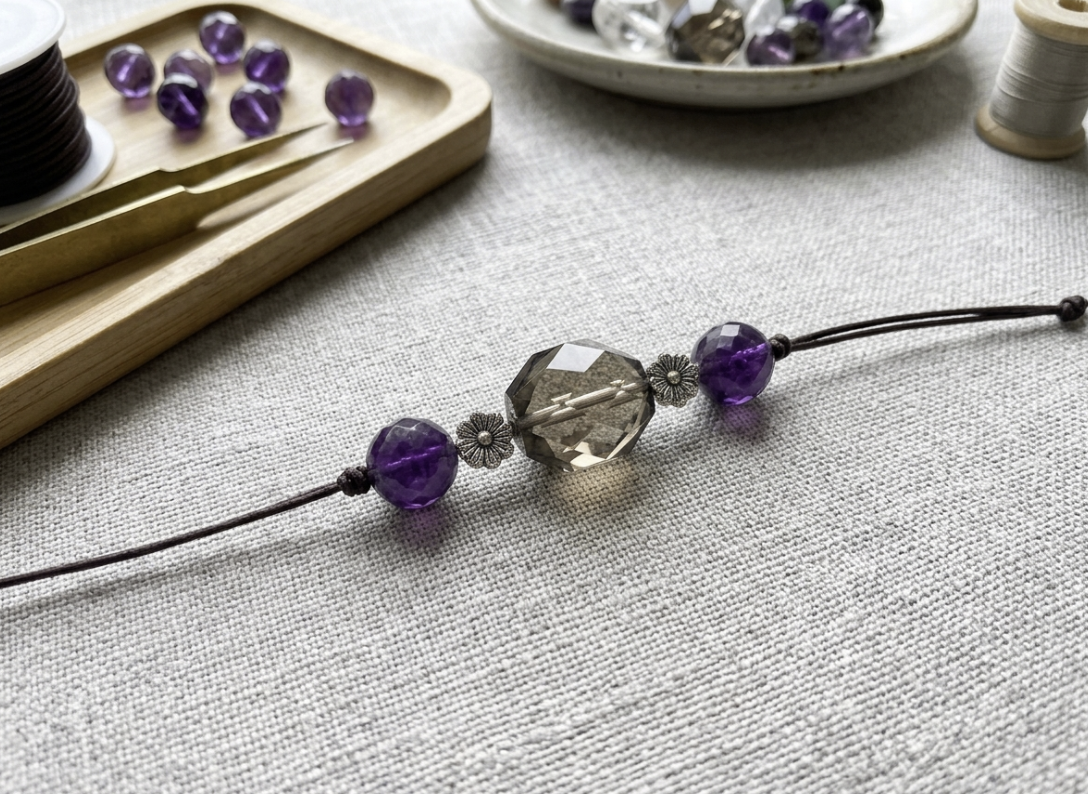
Use this pattern when you do not know where to start:
- Choose 20 to 24 round 8 mm gemstone beads.
- Put one accent bead in the center.
- Add the same number of main beads on each side.
- Add two small spacer beads next to the center accent if you want more contrast.
- Test the fit and adjust one bead at a time.
This pattern works with crystal beads, gemstone beads, and simple metal spacers. It also makes a thoughtful starting point for a custom gift.
Common Crystal Bracelet Mistakes
The bracelet feels too tight
Add one small bead or use a slightly larger size. A tight bracelet puts extra stress on the elastic cord and feels uncomfortable during the day.
The bracelet has gaps between beads
You may have stretched the elastic while stringing. Start again with fresh cord and keep the cord relaxed until you tie the knot.
The knot looks large
Use thinner cord only if it still passes through the beads twice. You can also choose a bead with a larger hole and hide the knot inside it.
The colors look busy
Remove one color. Most beginner bracelets improve when you give the main gemstone color more space.
How to Care for a Stretch Bracelet
Take the bracelet off before swimming, showering, or using cleaning products. Store it flat or in a soft pouch. Avoid pulling it over a closed fist when you can slide it on more gently.
Check the cord every few weeks if you wear the bracelet often. Replace it when it looks fuzzy, thin, or loose.
Make Your Next Bracelet Easier
Your first bracelet teaches you what size, color, and fit you like. Keep notes on the bead size and bead count. Those small details make your next DIY crystal bracelet faster to build.
Explore Audday’s bracelet-making kits for a coordinated starting set, or browse natural gemstone beads to create your own color story.
FAQ
How many beads do I need for a crystal bracelet?
The number depends on bead size and bracelet length. A 7-inch bracelet often uses about 22 round 8 mm beads before you add spacers. Use the bead size chart to plan your own design.
What cord should I use for a crystal bracelet?
Use stretch cord for a simple bracelet with no clasp. Choose a cord that passes through each bead hole twice if you want to hide the knot inside a bead.
Are crystal bracelets good for beginners?
Yes. A stretch bracelet uses a short materials list and simple steps. Start with round beads, one color, and a standard fit.
Can I mix different gemstone beads in one bracelet?
Yes. Keep the bead diameter close when you mix stones. A bracelet looks more even when most beads share the same size.
What should I do if the elastic breaks?
Save the beads, check for sharp holes, and restring the bracelet with new cord. Broken elastic does not mean you need to replace the beads.
Choose a Crystal Bracelet with a Personal Intention
As a crystal artisan at Audday, I work with natural gemstones and handmade bracelet designs inspired by astrology, numerology, and traditional crystal symbolism. Audday was born in Haifeng, Shanwei, Guangdong, China, a region connected to a large colored gemstone production and processing network. This gives us a close view of gemstone selection, polishing, bead quality, and bracelet assembly.
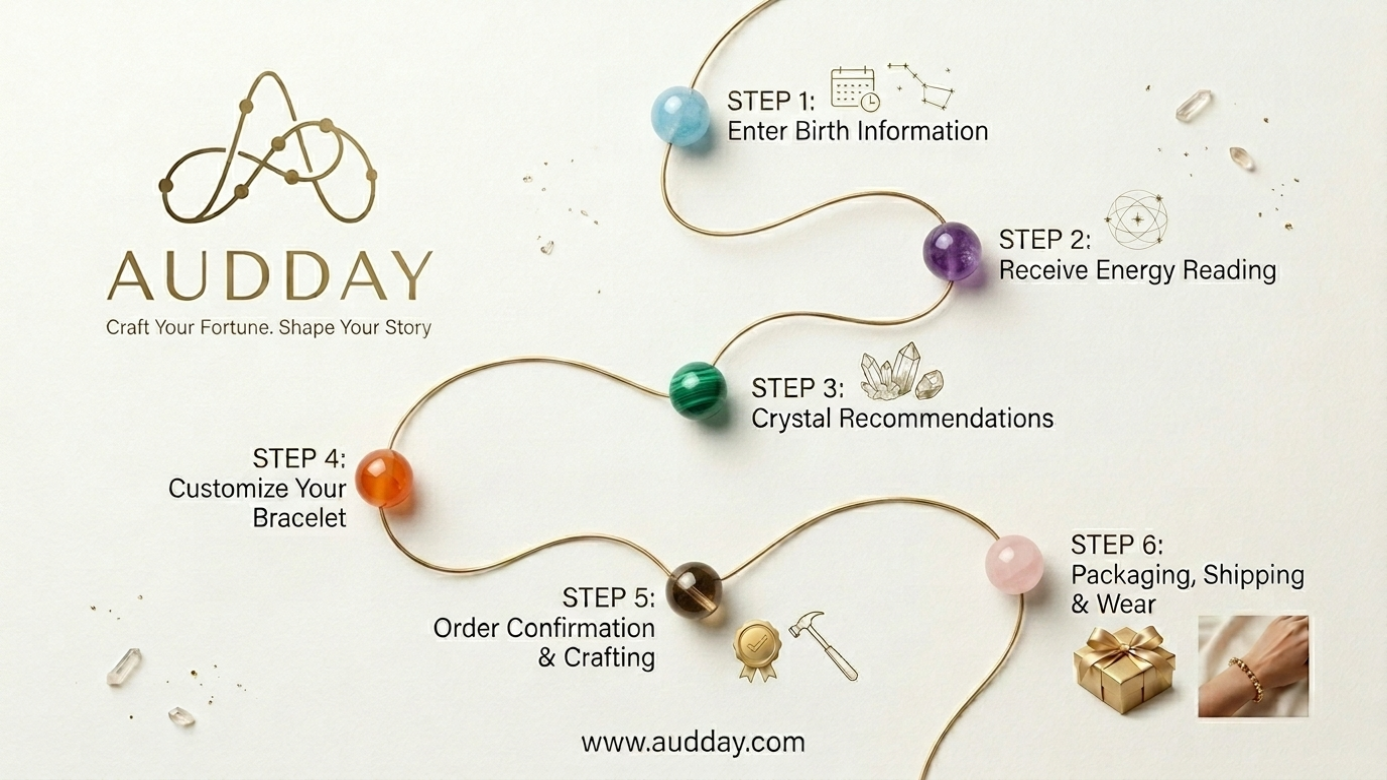
If you are unsure which stones fit your birthday, zodiac theme, or current intention, begin with Audday’s custom energy interpretation page. You can then turn your personal reflection into a finished design with Design Your Custom Energy Bracelet Now.
Crystal meanings are spiritual and symbolic rather than medical guarantees. Choose materials that feel meaningful, comfortable, and appropriate for your personal style.
Frequently Asked Questions
What beads are easiest for a beginner crystal bracelet?
Six-millimeter or eight-millimeter gemstone beads on stretch cord are usually a practical starting point for beginners.
How many beads do I need for a bracelet?
The number depends on wrist size and bead diameter. Measure your wrist and arrange the beads before cutting the cord.
Can I make a bracelet based on my birth date?
Yes. You can use your birth date, zodiac symbolism, numerology themes, and personal intention as inspiration for a custom design.
Disclaimer: Audday’s crystal, chakra, astrology, numerology, and energy-related content is for personal expression, cultural interest, and entertainment. It is not medical, psychological, financial, or professional advice.
Read the Gemstone Material Analysis before choosing bead size, finish, inclusions, and natural stone character. For a made-to-order result, visit the Custom Bracelet page.
Check the actual beads before you plan the count
A bead-size label tells you its approximate diameter, not the exact finished length of a bracelet. Sort the beads you intend to use and set aside any with a chipped edge or a hole that catches the cord. Natural stone strands may contain small differences in shape and thickness. Lay the complete pattern in a straight line beside a ruler before stringing. A slightly flattened bead, a wide spacer, or a metal charm changes the finished circumference. Treat a bead-count formula as a starting estimate, then adjust the layout to the real materials on your tray.
For a simple round-bead pattern, divide the target bracelet circumference in millimeters by the approximate bead diameter. A target of 180 mm with 8 mm rounds suggests roughly 22 or 23 beads before accounting for spacers and the way beads sit around a curved wrist. This is a layout estimate, not a guaranteed fit: bead holes, bead shape, knot placement, cord tension, and the wearer’s preference all matter. Test the nearly finished loop on the intended wrist before tying it permanently. If you are making a gift without a measurement, ask discreetly for an existing comfortable bracelet and measure that instead of guessing from an age or clothing size.
Match cord to the smallest hole, not the largest bead
Choose the cord only after checking the narrowest bead hole in the design. A focal bead may have a generous opening while the spacer beside it has a much smaller one. Thread a short test length through every bead type, including charms and findings, before cutting the full working length. If the cord frays, pinches, or has to be forced through a rough hole, change the bead or the cord rather than relying on extra tension. A thicker cord is not automatically stronger if a sharp drilling edge damages it each time the bracelet moves.
Also inspect the hardware. A closed ring is less likely to open accidentally than an unclosed split in a decorative component, but hardware suitability depends on the complete construction. If a charm swings freely, leave enough space that it does not strike a fragile stone with every step. A heavy pendant can pull an elastic bracelet off center. For a first project, keep the decorative component light and the bead sequence simple enough to repair later. Record the cord type, bead size, and basic order so restringing does not require reconstructing the bracelet from memory.
Finish, test, and document the piece
Before the final knot, compare the planned loop with the wearer’s wrist or a bracelet they already find comfortable. Check for pinching between beads and for a loose gap that would let the piece slide over the hand unexpectedly. Tie according to the cord manufacturer’s guidance, because different elastic materials respond differently to stretching and adhesive. If using jewelry glue, apply only a small amount appropriate to that cord and let it cure fully. Do not hide a wet knot inside a porous stone, and do not trim the ends until the connection has passed a gentle pull test.
Wear the bracelet briefly at home before gifting or selling it. Move the wrist, put on a sleeve, and check whether the knot or charm rubs the skin. Photograph the finished piece in natural light, write down its approximate finished circumference, and note any treated, dyed, or lab-created materials accurately. Audday’s handmade approach starts with this kind of material and fit transparency: a beautiful bracelet should also be understandable and maintainable. Our gemstone material analysis explains why natural color and inclusions vary; the custom bracelet page is an option if you would rather have the construction reviewed for you.
If the first attempt fails, diagnose one variable at a time
If the loop is too small, adding a single bead may help, but first ask whether the bead size or tension made the fit seem smaller than expected. If the strand develops visible spaces, compare it with a photo taken immediately after tying; cord stretch or a knot settling may be involved. If the bracelet feels heavy or rotates so the focal element stays under the wrist, remove weight rather than adding more beads. If the knot remains exposed, choose a suitable bead with a larger opening or redesign the connection; forcing it through a narrow stone can damage both the knot and the bead.
There is no need to call a failed first attempt wasted. Keep the layout and measurement notes, salvage sound beads, replace damaged cord, and make one controlled change. This is how a beginner learns the difference between a pleasing bead arrangement and a durable piece of everyday jewelry. Crystal symbolism can make the project personally meaningful, but it does not guarantee healing, protection, money, or any other outcome. If you want a reflective prompt for a gift story, use Audday’s energy reading as inspiration and let the wearer decide what the finished bracelet means to them.
One thought on “How to Make a Crystal Bracelet at Home: A Beginner Guide”